
And I'm very proud of myself that I finally relented and allowed my family to help with something! Delegation is really hard for me, but since I'd scaled back the invites to something other than my original design, I was sort of over them, and welcomed the help. So I gathered the supplies and headed to my parent's house, where my mom, two aunts and I assembled the invites, with even a little help from my dad and parent's dog.
 (Ok, Darby didn't really help, but he wanted to!)

My dad and mom hard at work. My dad only has use of one hand ever since his stroke, but he was able to put stamps on the RSVP envelopes. Sorry to anyone who gets upside down stamps though, he didn't realize it was a bell on the stamps at first (we opted to use forever stamps on the RSVP envelopes because we were doing them in advance and didn't want to run into any issues if the cost of stamps increased before they went out). He thought the forever stamp was a cup, so some were applied upside down! Oops!

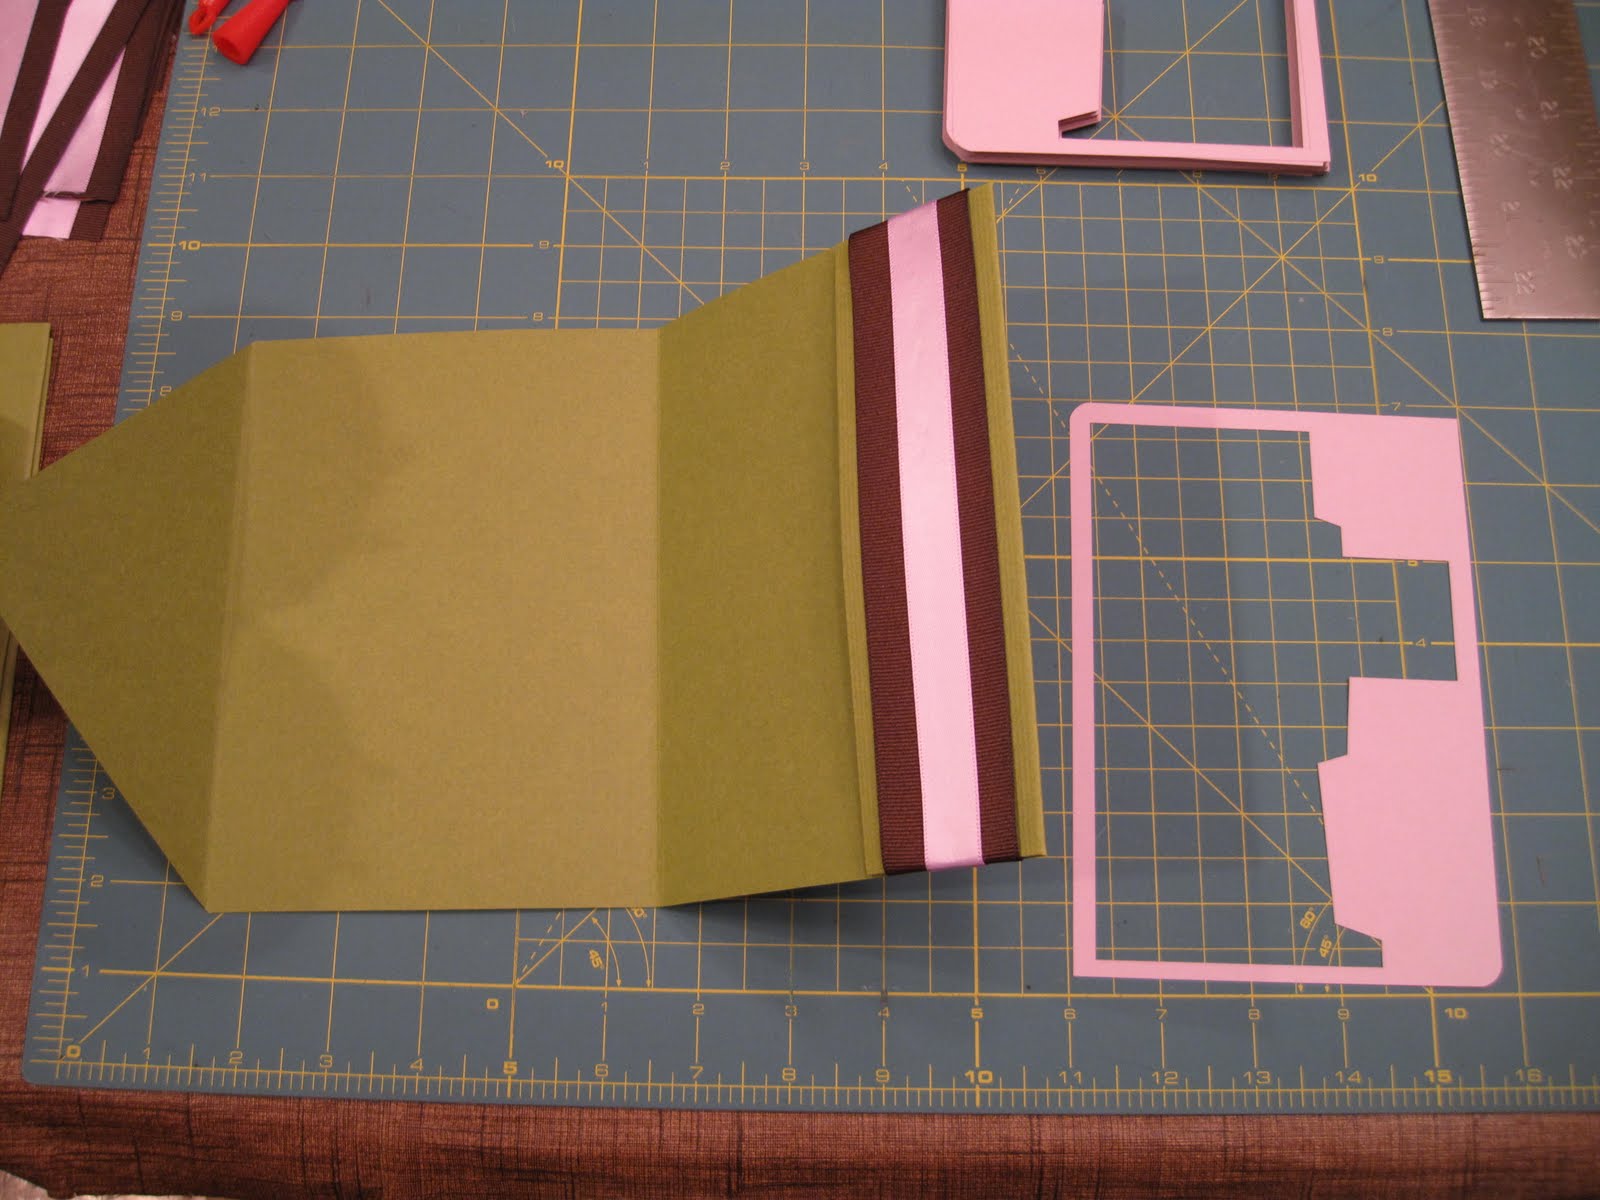
One of my aunts was kind enough to seal the ends of the belly band ribbons from fraying, while another aunt glued. And my aunt was so smart to use a candle on the ribbon, which was much easier than repeatedly flicking a lighter like I did to seal the belly band ribbons I did for our STDs!

Next, it was time to glue the purple cardstock to the pocketfolds, that the laser cut wood grain paper would be glued on top of:

We then used a spray adhesive to attach the laser cut invitations. With all those gaps, the spray glue worked a lot better than Zip Dry paper glue, which is what I used for just about everything else.


And after that it was time for putting the inserts into the pocket, and gluing the belly band ribbons around the outside of the pocketfold.


We then had to tuck the RSVP card and envelope under the belly band, on the back of the pocketfold (still using the post-its with the number for each guest on our guest list, to keep everyone straight for when it was time to print the address labels).


But we weren't done yet, I of course had to line the envelopes too. It seems so common to line envelopes these days (at least on wedding blogs) that I couldn't NOT do it! Mr. Cola did some brain hurting math involving tangents or signs or something to figure out the precise angle the liners needed to be cut at, because even our rectangular envelope flaps angled in slightly. He then nicely cut them out one evening after work on the laser cutter, leaving me with perfectly sized liners in chocolate and lavender that went well with our lavender envelopes.


I won't go into too much detail on lining these, since I think there have been enough tutorials already: just basically insert the liner, use a ruler to make a straight crease where the flap folds down, glue, press down, and done!


After that, the only things left to do were to insert the invitation, and apply the address labels and outer stamps. But I'm going to wait until my next post to show off the fully finished invites, as well as do a cost breakdown!
Have you been able to delegate some of your wedding projects to friends or family?


Wow, Morgan, those turned out so great! Thanks for the tip about the spray adhesive - our invites are going to have some cut-outs, too (from a craft punch, not an awesome laser cutter), and I was wondering how I was going to adhere them to the pocketfolds.
ReplyDeleteCan't wait for your next post!
I can't wait to see the finished product!
ReplyDelete