skip to main |
skip to sidebar
If your wedding planning journey has been anything like ours, your home has probably been taken over by boxes and boxes of wedding stuff. For the last 7 months or so, it feels like every other day we're getting packages in the mail!
See exhibit A, our living room as of last weekend (aka our pool table and entertaining room, thank goodness we have a family room too, where we watch TV and I have another room to trash while working on crafts!).
 (we haven't been able to play pool since 2009, with all the boxes on top of the table)
 (having a path to actually get out of your living room and to the front door is overrated!)
So I made it my mission to get our house and wedding stuff organized! With less than 3 weeks until the wedding, it was finally time to stop buying things, and start getting things in order for taking to the various wedding events.
Our old furniture was already shoved into a corner from when I did our fauxtobooth mock up, so I had a free wall to work with. I started by boxing up everything, and made detailed set up instructions sheets that I put into each box. Since we're relying on our DOC, family and friends to do the majority of the set up, I wanted to make it as easy as possible for them to quickly figure out where to put things around our venue.

I also made labels for every single box, describing what's in the box, if there are multiple boxes with the same items (i.e. calling out box 1 of 2), and a quick note on where the contents go. Hopefully this will make unloading the Uhaul full of boxes go quickly, and make it easy to find everything.


I put half sheet notes on the boxes that are still missing things, and those will remain untaped until we track down a few remaining things, but all in all, we've got just about everything boxed and set up instructions printed out, except our cupcake stand, which we'll do next weekend.
After all the organizing, I was able to separate out all the many boxes into several piles, and clean off our pool table so we could stuff our OOT boxes. We went to Costco for the contents and ended up putting 2 water bottles, beef or turkey jerky, gum, advil, the info packet, and 2 bags of chips in each box.

See? Look how clean (ish) now!

Of course, I didn't just make it all disappear, but at least all of the wedding stuff is in organized piles now!
Wedding party gifts, wrapped by Mr. C in extra OOT gable boxes:
Two piles of rehearsal dinner decor and drinks:

 (Thirsty anyone? Hopefully 4 cases of beer, 16 bottles of wine, 24 water bottles and 3 packs of soda will be enough! But any leftovers will get used at our after party and/or Sunday luncheon)
A big pile of all the wedding decor, except the cupcake stand:

After party supplies (mainly boxes of liquor and mixers, plus Mr. Cola's remote controlled beer cooler robot):

And a lot of champagne for the Sunday luncheon (we'll pick up beer on the morning-of, since there won't be room in our cars for anything more than we've already bought until that morning!)

OOT boxes all ready to go (Along with a print out of the email from the hotel confirming they won't charge to hand out the boxes. You can never be too careful!)
And a look at all the organized piles (come on, I know you all love looking at piles of my wedding junk!).
Ok, well, I had a grand vision before I started all this that our living room/dining room would look totally better, all cleaned and organized. And it IS, but there's still a LOT of stuff everywhere. Oh well, not much we can do about that until the Wednesday before our wedding, when we'll be loading it all into our 10ft Uhaul and into the trunks of both our cars.
 (Yes, that is a giant kitty jungle gym along the back wall. After 6 years and 3 moves, they desperately need us to build them a new one, which is on our "after wedding" DIY projects list)
But it still feels good to be organized, even if it doesn't look like it!
Have you taken steps to organize all your wedding supplies and decor you've accumulated?
 {Source}
All along, I've never intended to have a bachelorette party. I know they can be fun, and I would have considered a joint party with Mr. Cola, but all of our wedding party is from out of state, and I certainly wouldn't want them to travel here just for a little party. Plus, I'll be going out and doing something low key with one or two of my bridesmaids the Wednesday night before our wedding anyway.
I guess, for me, I've just never gotten the point. Yes, it's totally fun to go out with just the girls sometimes (but you don't need an excuse to do that)! But it's the idea some movies/TV portray of a bachelorette party as a "last wild night to celebrate being single" that just doesn't click with me. I haven't been single for a very long time, regardless if we're actually married yet or not! Maybe I'm just getting old.... ;)
But last week at lunch with three of my good (guy) friends from work, one of them asked me when my bachelorette party was, and they were shocked when I said I wasn't having one. The conversation went like this:
Friend: "So, when is your bachelorette party?"
Me: "I'm not having one."
All 3 Friends: "Whaaaaaat? But it's a rite of passage!"
Me: "Eh!"
I guess for some guys it's a lot bigger deal? Hmmm, I wonder if that could be because a lot of the time there are strippers involved?
My friends then proceeded to offer to take me out to the Mitchell Brothers and the Gold Club (two gentleman's clubs in San Francisco), since they knew I wouldn't want to go to Ruby Skye with them again (a popular nightclub).
Um, no thanks!
I've heard sometimes that brides and grooms make sacrifices and go along with bachelor/bachelorette party activities to humor their friends, but I wasn't willing to in this case! Watching my friends get lap dances, or going to a club and get groped by strangers or hit on for a one night stand just isn't my idea of a fun night!
However, going to a SF Giants game and drinking overpriced wine? Yes. Going out to a nice dinner? Sure. Playing darts at a dive bar? Cool. Going to a nice lounge and tasting a flight of wine? Awesome (gee, maybe I like wine or something?). But I can't imagine enjoying myself at something involving strippers that my guy friends planned, as an excuse for them to look at nekkid boobies. After all, isn't a bachelorette party supposed to be about the bride having fun?
I politely declined my friend's offer, but told them they should go without me and celebrate the fact that they're still single for me! That way, everyone wins. I'm usually a people pleaser, but in this case I just had to draw the line.
What is your preference on bachelor and bachelorette parties--something low key, or an all out last single bash? And would you go along with something you didn't want to do for your friends?
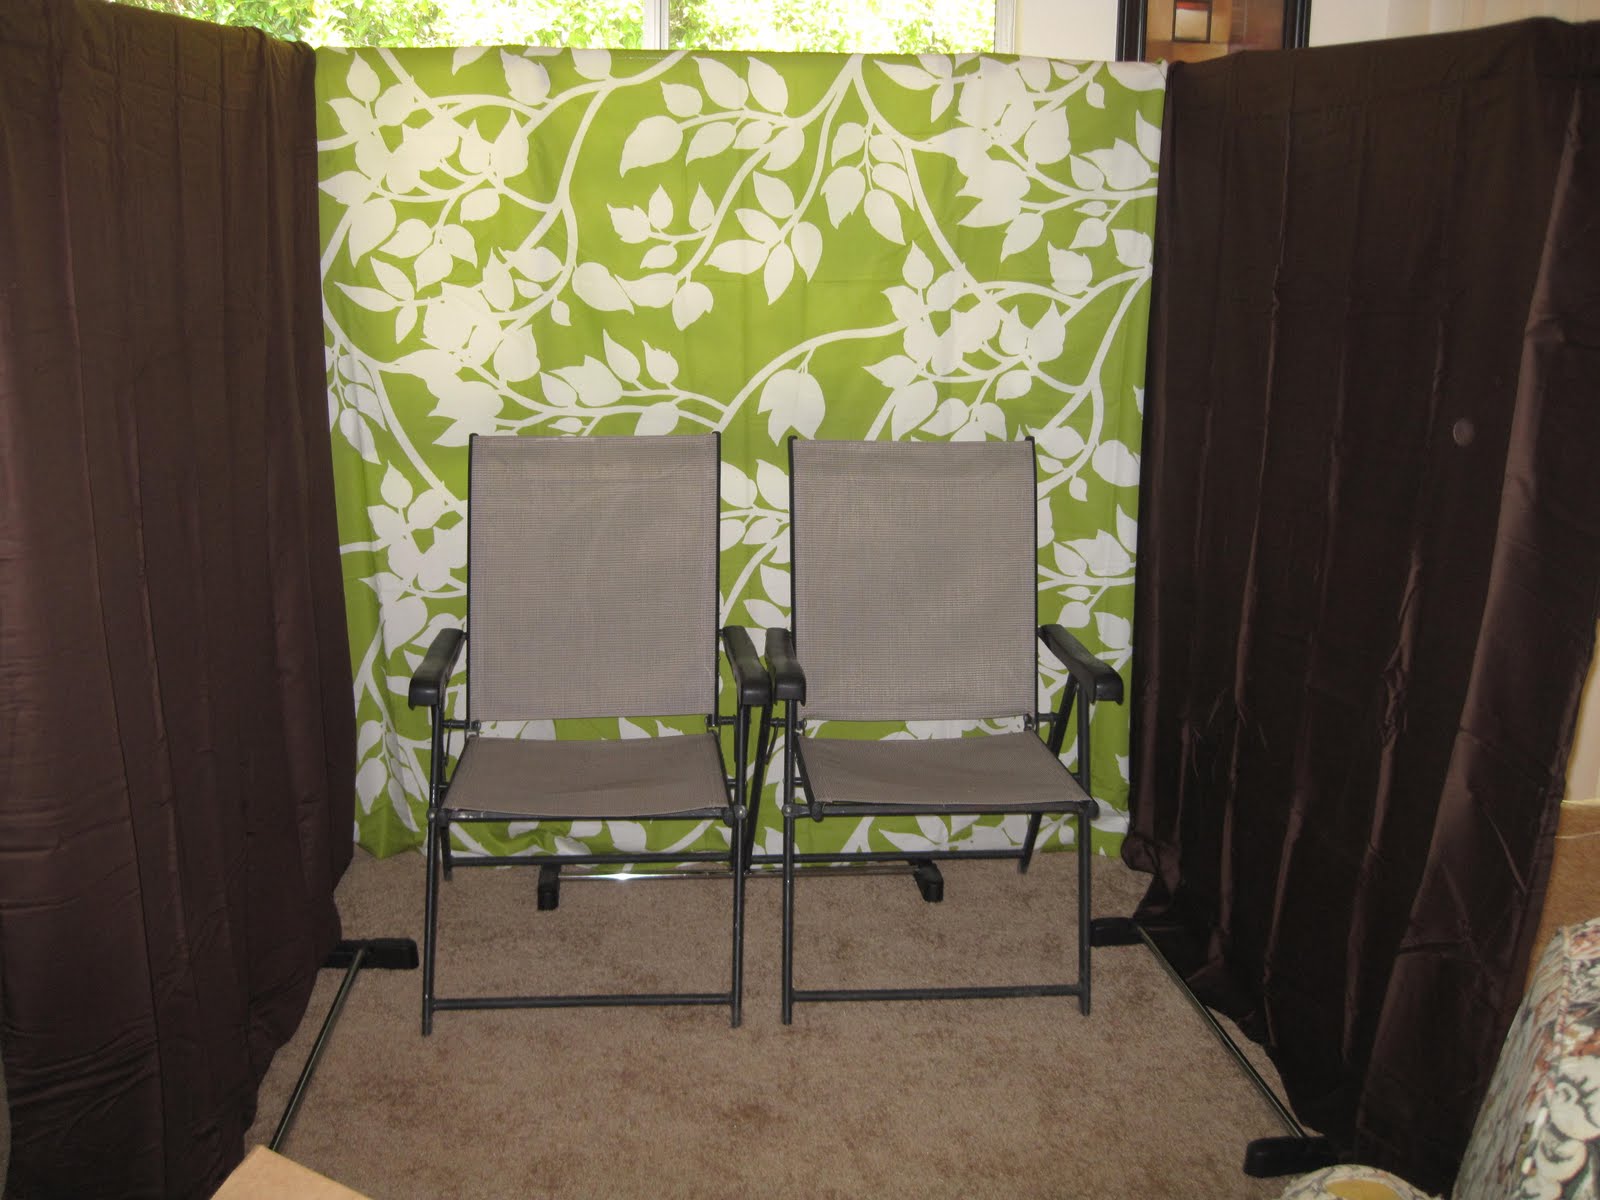
Since last week I saw a post on the boards asking about how to make a DIY photobooth, I decided to share our fauxtobooth in it's mock up stages, instead of waiting until after the wedding when we'll have the pictures from it. I had to set it all up so I could write up the assembly instructions before packing it for the wedding, and thought it might be helpful to others thinking about doing their own photobooth!
I already mentioned the USB button we will be using to control the photobooth program on my sister's Mac here, and here I showed you all the fun props we got.
But as far as supplies other than the USB button, Mac and props, we're using the following to construct our fauxtobooth:
3 garment racks
3 queen size top sheets
Snaps (to hold the sheets on the racks)
2 clip lights
2 chairs (from our venue)
2 tables (also from our venue)
Large LCD computer monitor
High res webcam
1 small table for holding USB button
Wood box, with sister's laptop inside, LCD monitor on top (back of box is open for laptop fan circulation and cords)
3 signs
USB extension cord
Power extension cord
Double sided tape (for securing USB button to table)
Before doing the full mock up, I made this quick and dirty 'bird's eye view' diagram, so I would have a clear idea of where to set up everything (click for a larger view).

Now, I won't bore you with all the step by step photos I took (I'm guessing you all don't care to see how to assemble a garment rack, or the precise draping of the sheets on the racks), so I'll fast forward to the photos* with things more set up.
*Please use your imagination when looking at these rough mock up pictures. The real version with linen covered tables, nice chairs and non-wrinkled sheets is going to look a lot better, I promise! ;)
The quick and abbreviated set up instructions:
1) Assemble garment racks, adjust to head height, and drape sheets over the top.
2) Snap the snaps on the sheets, and form three sides of a square with the racks.
3) Place 2 dining room chairs in the booth (the actual chairs we'll be using are smaller than the ones in the picture, and don't have arms, so more people can cram together on them)

4) Place "Press button, smile, repeat" poster on table, facing the chairs, along with laptop, box over laptop, and LCD screen with high res webcam on top of box. Place "Photobooth" poster in front of table. (in the picture below, kindly imagine that the barstools are really a table with a nice table cloth on it)
5) Put the small round table right next to the chairs, with the button on top. Run the USB extension cable around the outside of the garment racks and up to the front table.
6) Clip the lights to the top of the racks, toward the front. Turn them to directly face the chairs, not pointing down. (The lights are not pictured below, and there won't be a window shining light through the sheets in our real set up.)


7) Lay out the props and prop sign on the side table. (We'll just pretend this box is a big table that covers the garment rack legs, ok? And that we have 10x as many props on the table.)


8) Adjust the webcam so that only the green back drop is in the frame of the pictures, and take some test pictures to make sure all is working correctly. (I obviously didn't follow step #8 in lining up my sample photos below, but on the day-of, the brown side sheets won't be showing)
 (I made 2 chalk board conversation bubbles with wood and chalk board spray paint. The lavender round table you see between the chairs is where the USB button will go, but I used my wireless mouse in this mock up. Also, in the real version, you won't see the garment rack legs through the sheets, it's only there in these pictures because I stupidly did my mock up in front of a window!)

Once I was finished playing in the fauxtobooth with my kitty, I packed everything away as compact as possible for transportation to our venue. Minus the LCD monitor, sister's laptop, webcam and the USB button itself, which I don't have at my house, all but the garment racks fit nicely into just two boxes.
I'm guessing that on our wedding day, it won't take my sister more than 15-20 minutes to get this all set up, especially with my (much more detailed than this post) set up instructions sheet.
We've included a note about our fauxtobooth in our programs and on our wedding website, and you can't miss seeing it on your way to the restrooms, or through the big windows from the deck/dining area, so hopefully our guests will put it to good use! The next day we'll upload all the photos to our site for everyone to download, and we also plan to print out some of the pictures of each guest on photo paper and include them with their thank you cards. It will be like getting another favor after the wedding is over!
Is anyone else jumping on the fauxtobooth bandwagon?
This is a quick little project that I actually really wanted to do for my trash the dress shoot in Vegas, but didn't come up with the idea until a few days before the trip, when it was too late. And it wasn't really even my idea to begin with, it's all thanks to the fabulous Mrs. Fro Yo! Check out her amazing frozen yogurt bouquet from her bridal session here.
After seeing that, I of course wanted a Cola bouquet for myself, and I will have a good place to use it: at our wedding rehearsal! Since I'm not having a bridal shower, I won't have one of the traditional ribbon and bow bouquets to use to rehearse with, but I thought it would be a good idea to have at least something to practice holding.
Enter eBay, where I got 40 bottle caps for only $2 + shipping! I just glued 5 bottle caps onto another bottle cap, and added a rhinestone in the center to create little Cola daisies.


Add sticks glued to the back of each of the five daisies, silk hydrangeas, some ribbon, and you've got a Cola bouquet! Here it is photographed on top of the fabric of my new rehearsal dinner dress.

(Yes, I got a new rehearsal dress. Trying to alter the one I bought in September down two sizes was going to be too much of a pain, and I can still return the old dress for store credit. Sorry, I don't have any good pictures of me wearing the new dress yet, but it's super cute, and I will be wearing a purple ribbon sash with it that matches the ribbon on this bouquet).
The top view (Cola Kitty approves):

 (All photos in this post were taken by me)
Even though this was another unnecessary project, I know I'm going to be glad I have something to practice holding during our rehearsal. I've seen too many pictures where brides hold their bouquet too high, covering the details on their dress, so I want to make sure I avoid doing that. It will also be good to have something to keep my hands occupied, in case I'm feeling a little nervous with all eyes on us during the rehearsal!
Will you be using a stand in bouquet to practice with during your wedding rehearsal?
Earlier this week I was bored and browsing Etsy, and decided to search the site to see what bee items I might find. Like Mrs. Lamb, I thought it might be nice to find something for myself to celebrate my time writing for Weddingbee.
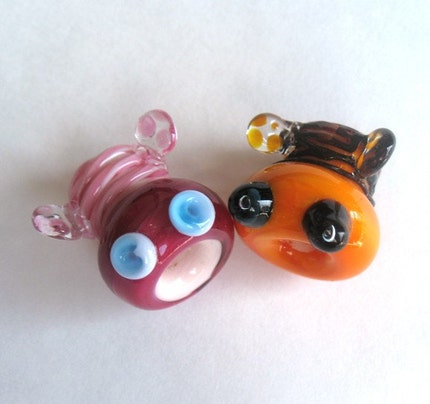
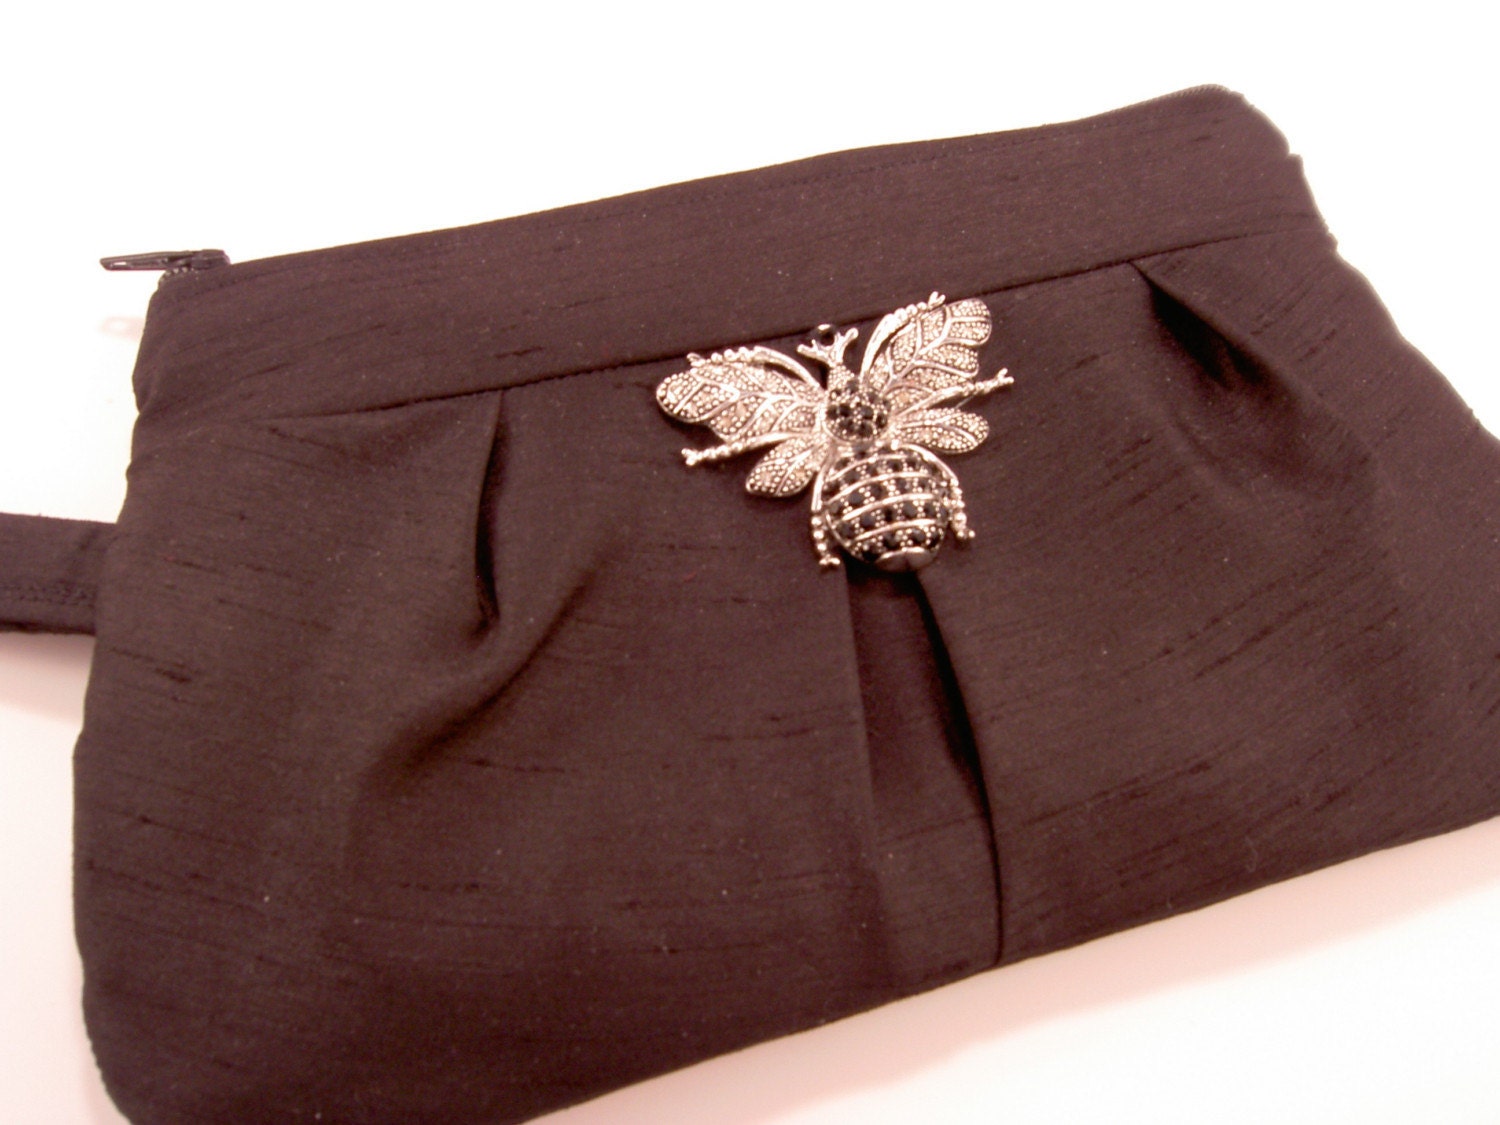
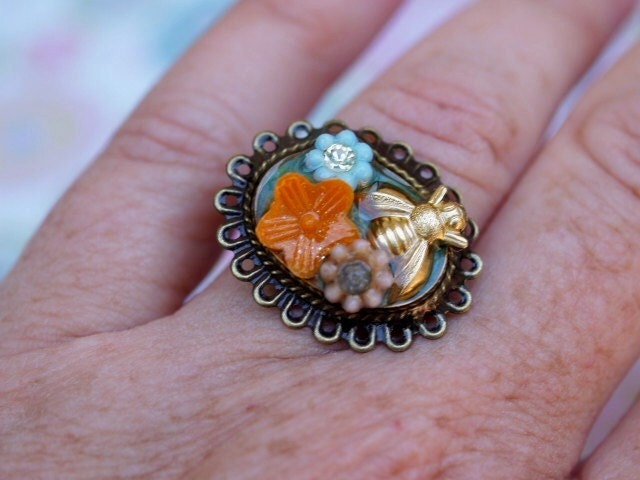
And wow, did I find a lot of cute bee things! For all you other Weddingbee lovers out there, I thought I'd share some of my favorite finds (follow the links for the Etsy listing and image source).
Purple Flower with Bee Hair Pins (wish I'd found these before buying my hair pins, they would have been perfect for my wedding!)

Mrs. and Mr. Bee Glass Beads
Gorgeous Pink and Bee Charm Earrings

Jeweled Bee Wristlet
Vintage Flower and Bee Ring
Honey Knuckles Ring (this reminds me of the awesome rings Miss Scissors considered getting for her bridesmaids)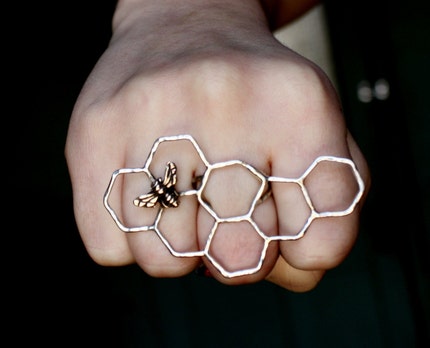
Bee and Pink Flower Necklace (also one of Lamb's considerations)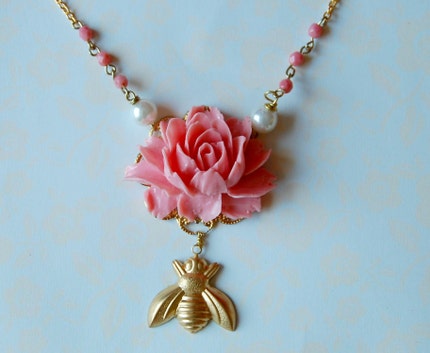
Stacked Pink Topaz and Bee Rings (I love the simplicity of these stacked rings, if only the stone was princess cut to match my e-ring!)
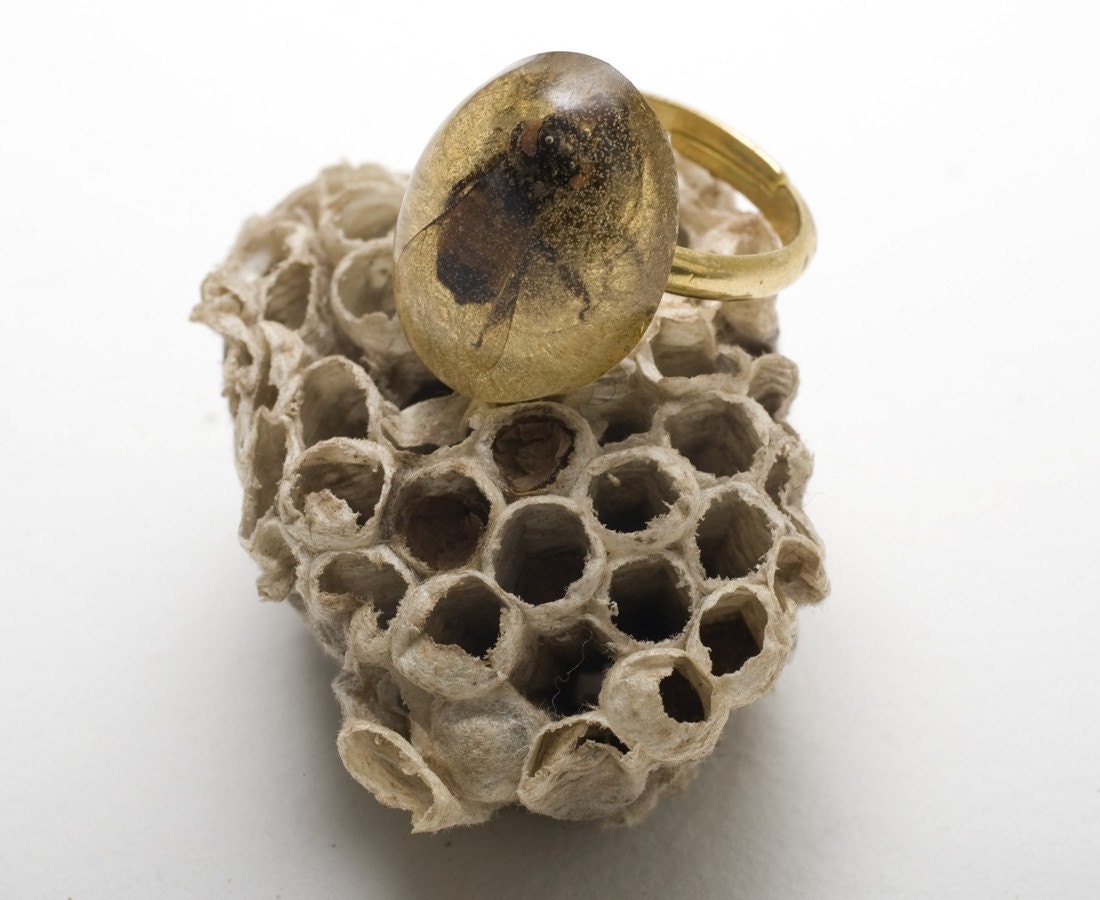
Real Bee in Resin Ring (this one is a little out there, and probably not for me since I've never even been stung by a real bee, but it's pretty interesting that something like this exists!)
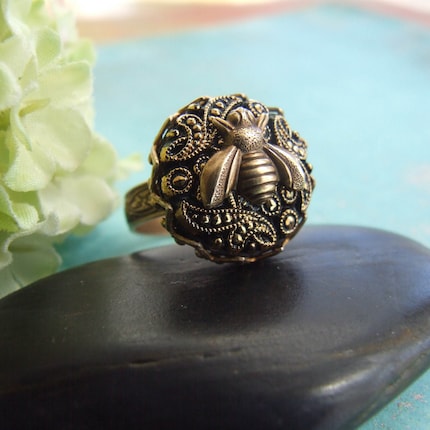
Filigree Bee Ring (I LOVE the vintage feel to this ring!)
I think my favorites so far are the pink earrings and the filigree ring, but I'm not settled on what my Weddingbee commemoration gift to myself should be yet. But the great thing about Etsy is that new stuff pops up all the time!
I know there are a lot of Weddingbee addicts out there, have any of you been tempted to buy anything with bees adorning it? And who else loves browsing Etsy when you're bored? :)
You've all seen a peek of the Trash the Dress photo shoot I did with many of the other Bees when we swarmed Vegas in early March, but I wanted to share a few more details about the dress I trashed!
Just like Pretzel and Lamb, I too needed to find a dress that wasn't my own for this adventure, and I had a great experience, on eBay no less!
I started searching eBay a couple months before I needed the dress, but at first I ran into search overload. There are a TON of dresses on there! But the more I looked, the more I realized that many, the majority even, are listings for brand new dresses made in China. While the prices are not bad (most in the $125-175 range), I didn't really feel like waiting 8 weeks for a dress to be sewn, and taking my own measurements for it.
So I narrowed my search to only look at pre-owned dresses, and then we were in business! Now I had lots of real dresses (not sew to order) to look at, and let me tell you, eBay is a treasure trove of used wedding dresses, if you're in the market for one. I further narrowed my search to look for something in a similar silhouette as my real dress, an A-line with a sweetheart neckline--eBay has lots of filters to help narrow your search.
I found several dresses that I was interested in, but wanted to contact the sellers for clarification on a few points that were important to me when buying a used dress. Some of the listings weren't the most descriptive, and I wanted to be clear on what I was buying.
I was sure to ask:
- Are there any noticeable stains, rips, tears or snags on the dress? Where are they located?
- Is the beading/embellishments in perfect condition, or will they need any repair?
- If the dress has been altered, to what size? Height/weight of the bride? What height of heels were worn with the dress?
- How many times has the dress been worn?
- Has it been professionally cleaned?
After finding two dresses that were satisfactory to me (both happened to be Maggie Sottero, which I'd tried on while shopping for my real dress, so I knew how they'd fit), I added them as 'Watched Items' in my eBay account.
Now, this is very important when shopping on eBay, and you probably all know this, but just in case you don't: Never bid on an item right away. Always mark it as a watched item, and come back shortly before the listing ends to bid on it. Seriously. If you bid on something too early, it will just drive up the price. I swear, there is some crazy eBay mentality that if someone else sees there's a bid already, they want the item even more, and will bid on it themselves. And then you end up in a bidding war, and the price skyrockets. Nobody wants that, right? So trust me, when you've found your dream eBay item, set a calendar reminder, and come back a few minutes before the listing ends to snag it. It's worked every time for me!
The dress I decided to bid on only had one other bidder, and I got it for $130, which after inspecting it when it arrived, I'd say was an excellent price. It was a sample dress from a boutique in Connecticut, and other than one strap coming unsewn, and some of the beading a bit loose (which the seller disclosed upon my asking), it was in perfect condition. And it even came with an official certificate, verifying it was a real Maggie Sottero, which for my purposes didn't matter much, but was a nice touch. 
 Upon receiving the dress, I did a full inspection of it, just to make sure there wouldn't be any surprises, and all looked pretty good. No snags or tears, and the beading was even more pretty than in the listing pictures.
 My mom was kind enough to shorten the front of the dress with Stitch Witchery, an iron on fabric fuser, so it could be taken out later if I decided to re-sell the dress. She also repaired the loose strap, and it was ready to be trashed.
Now, how do you go about trashing a dress, you ask?
In the desert, without sexy ocean waves to roll around in, it was a little harder, but with a fabulous photographer like Fondue giving direction, and a fun photo shoot partner like Mouse, we found a way!
First, ease into the trashing. You want to start slow, and save the more adventurous shots for the end. Try leaning back on a rock, and practice your Tyra "smize." (You can click any of these for a larger view)  {Photo by Jessica Winn}
Then, try spreading the train of your dress out on the dirty rocks, climb up on some more rocks, and drag the train of your dress down a rocky trail.  {Photos by Jessica Winn}
Next, go ahead and sit right in the dirt, under a rocky outcropping. Climb some more challenging rocks in heels and pose next to a sexy Mrs. Mouse. And then you can really get into the trashing by kicking off your shoes and wading into a freezing pond at the bottom of a canyon. Wonder how the heck you got your train to magically float on the water. Don't forget to pose for the hikers gawking at you!  {Photos by Jessica Winn}
Peak through holes in the rocks, and then gracefully flop on the wet shore of the freezing pond. Continue to be amazed at the floating powers of the train on your dress.  {Photos by Jessica Winn}
Ok, now I just have to show you all this picture because it cracks me up every time I see it. You know how I said to "gracefully" flop on the shore? Yeah, easier said than done, in a dress that is quickly soaking up water like a sponge, and a tight corset. In all reality, I did a completely spaztic and ungraceful flop, and felt much like a floundering fish out of water. Of course, I had to demonstrate how I truly felt.  {Photo by Jessica Winn}
At the end of the shoot, it wasn't much fun carrying armloads of dirty dress while wearing it back up out of the canyon (the dress felt like it weighed about 40 pounds more because it was soaked from our pond adventure, as you can see in the below picture!)
 {Photo by Jessica Winn}But I had this to show for it, one dirty and trashed dress!
I brought a whole lot of red dirt back to the hotel with me, and had to wait a full 24 hours for the dress to dry out before I could put it back in its garment bag. But its mission had been accomplished!
I still don't know what I'm going to do with this dress now, I haven't even taken it out of it's rolled up bag or cleaned it since the trashing! But oh well, it served its purpose!
If you are doing a TTD shoot, will you be buying a separate dress for it, or using your real dress? Would you consider buying a dress off eBay, either for your real dress, or a dress to trash?
(Unless otherwise noted, the pictures in this post were taken by me)


 (we haven't been able to play pool since 2009, with all the boxes on top of the table)
 (having a path to actually get out of your living room and to the front door is overrated!)


 (Thirsty anyone? Hopefully 4 cases of beer, 16 bottles of wine, 24 water bottles and 3 packs of soda will be enough! But any leftovers will get used at our after party and/or Sunday luncheon)


 (Yes, that is a giant kitty jungle gym along the back wall. After 6 years and 3 moves, they desperately need us to build them a new one, which is on our "after wedding" DIY projects list)