skip to main |
skip to sidebar
In case you didn't already know, Mr. Cola is an engineer. Which means he has a serious love for gadgets, electronics, machinery.....and LED lights!
So when he came up with the idea to incorporate LEDs into our escort cards, I was all for it. He would be able to showcase one of his DIY talents at our wedding, and it meant one less project that I had to take the reins on!
This was a pretty complicated DIY though, and not something that would be easy to replicate unless you have the engineering know-how, so I won't go into too many of the details on the process, just a quick overview.
Mr. Cola started by laying out the design of the circuit boards, and had them made in China. Once the circuit boards arrived, Mr. C attached three LEDs to each board. Then, we had to "stuff" the circuit boards with resistors. I helped while watching TV (the resistors are the little brown things on wires).

Since I'm the wood staining expert in our house, I was in charge of staining all the boxes that would hold the guest names, circuit boards, LEDs, etc. Mr. Cola made the boxes by laser cutting wood and just gluing them together with wood glue.


While I was staining the boxes, Mr. C busily soldered the resistors, battery clips and on/off switches to the circuit boards.
And we had supervision, from one of our kitties, Topper.

So then we had a box of ready to go circuit boards.

A box of ready boxes, with separate back panels.
 (As you can see behind the box of boxes, the Cola household doesn't discriminate, we like both Coke and Pepsi!)
Paper with names of everyone on our "will probably come" list laser cut out, and purple borders, also laser cut.
And a bunch of layered lighting acrylic (bottom) and clear diffusing acrylic (top).
And that's all we need to assemble the escort cards!
As RSVPs have arrived, we've been slowly assembling the boxes for everyone who is coming. After we get all the RSVPs in, we'll have to go back and cut out about 20 more names, for a few unexpected guests and our friend's dates that we didn't previously have names for, but all in all, we'll be done with these escort cards pretty soon, except the table assignments on the back of the boxes!
But wait, I'm guessing you want to see a final version of these, right? :)
Here's what all the components look like before assembly.
Half assembled.
Snap the back panel in, and voilà, one luminary escort card!

A couple more details:
- The table assignments will be on stickers on the back of the "shadow boxes," and easily removed later (I'm totally going to be putting my name box on my desk at work after the wedding, so having the number removable was key)
- We've tested the batteries for 18 hours straight, and the lights didn't fade, so we know they'll last through our wedding reception with no problem.
- These each cost about $3. A lot more than the paper tent cards I was going to make, but a lot more fun!
So, there you go, our unique luminary escort cards! I'm so proud of Mr. C for taking initiative on this project, even though I did end up helping a lot.
Did your fiance take the lead on any of your DIY projects? What are you doing for your escort cards?
Like the need for fun/silly photographs, for example.
Mr. Cola and I were lying in bed, talking the other night about our wedding day schedule, and it came up that he has to take pictures with the groomsmen before our First Look. I reminded him that he needed to remember to get a shot taken of all the guys jumping in the air. Sort of like this:
 {Source}
He just sort of laughed and said "that sounds dumb."
I then reminded him of the deal we made, back when we couldn't find any cute sage green argyle socks to do a sock photo with. He had already agreed to do a jumping shot, in exchange for not doing a sock photo, like this one:
 {Source}
He REALLY thinks the matching socks pictures are silly, even though I love them. He honestly couldn't care less about any of our wedding pictures (and would be happy not to do any at all), so a good compromise was to just do the jumping picture instead.
But when I reminded him of this, you want to know what his response was?
"Why don't we just throw some socks up in the air, then you'd have the best of both pictures, and I wouldn't have to be in any of them. Yeah, that's what we should do! I bet that picture would knock people's socks off!" {Source}
Sigh. There are just some wedding things that guys will never understand. In Mr. Cola's case, it's cutesy pictures.
What wedding things does your fiance not embrace or understand?
You might remember my little problem from last week (lame vendor ruined my plans for purple chargers on our reception tables)?
Well, we've come up with a solution that might work, but it will be putting us a little over what I had budgeted for table decorations. So for now I'll leave you all in suspense, because our decision depends on how many RSVPs we get back (and there are still quite a few missing even though the response deadline was Saturday). If we have enough 'nos' we'll move forward with our over-budget plan, since we'll still be under budget on food and liquor.
But in the meantime, I wanted to show you all this other fun way to add pops of color to your tables. My mom found this in a June/July 2008 issue of a UK magazine called Wedding Flowers. Simply tie bunches of lavender (or other flower) to a lace overlay, and you've got accents of color all over!
 {Photo taken by my mother of the magazine page from the above referenced magazine}
I love the lace with the delicate white chairs, they are so perfect for a garden wedding. And I bet those tables smelled just wonderful with all the lavender!
Have you found any pretty decorations for reception tables that wouldn't work for your wedding style, but that you still love?
Pretty much everything has been ready for our rehearsal dinner for a while now. We have a great location, centerpieces are made, linens, plates and napkins have been purchased, and Mr. Cola worked on the lighting/decorations.
The only thing left has been to nail down the food we'll be serving, for which we HAD TO* do a tasting!
*Not really. We've had their food before. But it was a nice excuse to go out to dinner on a Friday and stuff ourselves full!
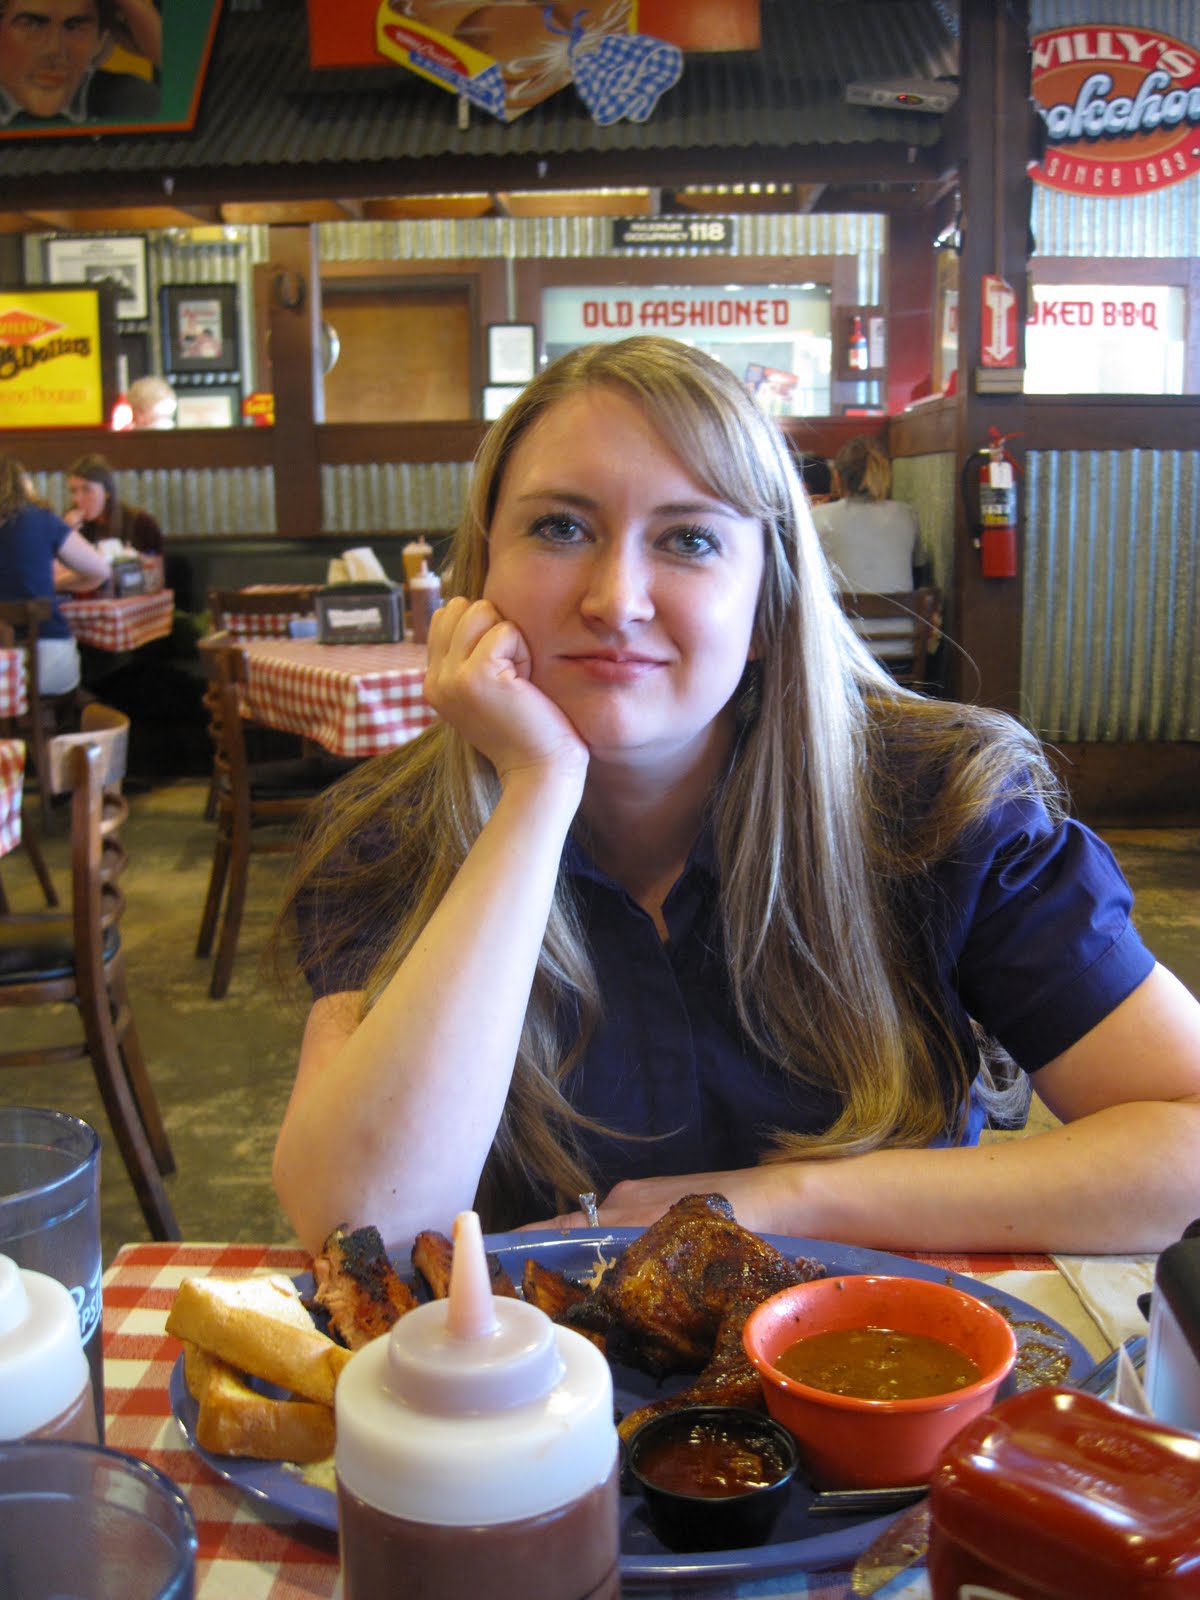
So last Friday, we headed over to Armadillo Willy's for some yummy BBQ. We were both going to order the giant 3-Meat Plate, since we're going to be serving three kinds of meat at our rehearsal dinner (and because leftovers are awesome), but at the last minute Mr. Cola chickened (ribbed?) out and ordered just a big plate of ribs.
This was the Brisket, Chicken and Ribs plate:
I am SO ready to eat!
Mr. C's plate of ribs:

Fast forward a half hour or so and then....


I didn't do so well with my 3-Meat plate, but Mr. C obliterated his rib plate! And now we were ready to make our rehearsal dinner selections. We get to choose three meats and three sides, and it's a good thing we did a tasting after all, because we changed up the selection of sides we were anticipating on getting.

We were thinking that baked beans would definitely be one of our choices, but they were actually pretty disappointing and watery. So we're going with potato salad, mixed green salad and corn bread muffins for our sides, and the three meats I tried, brisket (my favorite, obviously from the gaping hole on my plate!), BBQ chicken and BBQ ribs.
After all of that, I was in a meat coma! Hopefully our rehearsal dinner guests will be similarly stuffed of BBQ.

But of course, a BBQ buffet dinner wouldn't be complete without some buffet signs, so I whipped some up. It was a nice change to work with our blue, white and chocolate brown rehearsal dinner color scheme!

If anyone is curious, I used a font on these called Brandywine, free from HighFonts. To make them stand up on the buffet tables, I just folded card stock in half, cut out triangles, and glued them to the back of the signs.

 (All pictures in this post are personal photos)
Did you do a tasting before selecting your rehearsal dinner menu?
Last week was a stressful one for me, with the vendor issues, so I'm going to try to keep things lighthearted this week!
I told you all a while back about our honeymoon plans here and here. For a week we have a private house rented on the north shore of Kauai, followed by a day in Waikiki.
We're really looking forward to lounging on the beach in front of our house in Hawaii, but renting a house does come with some downsides compared to staying in a hotel. Namely, no waiters to bring you drinks!
So last weekend while Mr. Cola was in Vegas for a friend's bachelor party, I took it upon myself to try some recipes for a classic Hawaiian drink, the Mai Tai. If I'm going to have to make my own drinks on our honeymoon, I wanted to be prepared by knowing what ingredients to buy at the store, and how difficult the drinks would be to make!
First up was a partially pre-made option:
4 oz Trader Vic's Mai Tai mix
2 oz dark rum
Juice from 1 lime (or Rose's lime juice)

Multiply that by 2 to fit in a 20 oz glass better, and this is what I ended up with.

Then it was time for the taste test. Which I documented for you with the built-in webcam on my computer (I was bored without Mr. C around to entertain me, and I'd never played with the webcam before that weekend, so it was a good excuse. And now I know how to use it if I ever need to!).


 "Wow, that's limey!"

Conclusion: Eh. It was okay, but not great.
Next, I tried a more complicated, 7 ingredient recipe:
2 oz dark rum
1 oz light rum
1 oz orange liqueur
4 oz orange juice
4 oz pineapple juice
3 oz sweet and sour mix
1 oz grenadine syrup


Now, for the moment of truth:


Conclusion: Yummers! But a lot of work to make.
Do I really want to have to mix 7 ingredients every time I need a drink on the beach on our honeymoon? I'm leaning toward no. But the pre-made mix wasn't very good either.
So I can either make a big batch of the more complicated recipe and just pour it into a smaller glass as needed, or find another option. Beer would be easy, but I can't drink it. I like some other bottled options like Mike's Hard Lemonade, but they make me too full after one or two because they're so carbonated. And I could always just drink my "go to" drink of Captain and Diet Coke, but I think I might feel like drinking a something a little more special on our honeymoon!
Tell me hive, what easy-to-make drinks do you like to drink on a hot, sunny beach? Is anyone else taking a honeymoon where you won't have some of the luxuries of being at a resort?


 (As you can see behind the box of boxes, the Cola household doesn't discriminate, we like both Coke and Pepsi!)






 Posts
Posts